The
VIEW OUR TRAVEL PHOTO ALBUM >
August 3, 2015
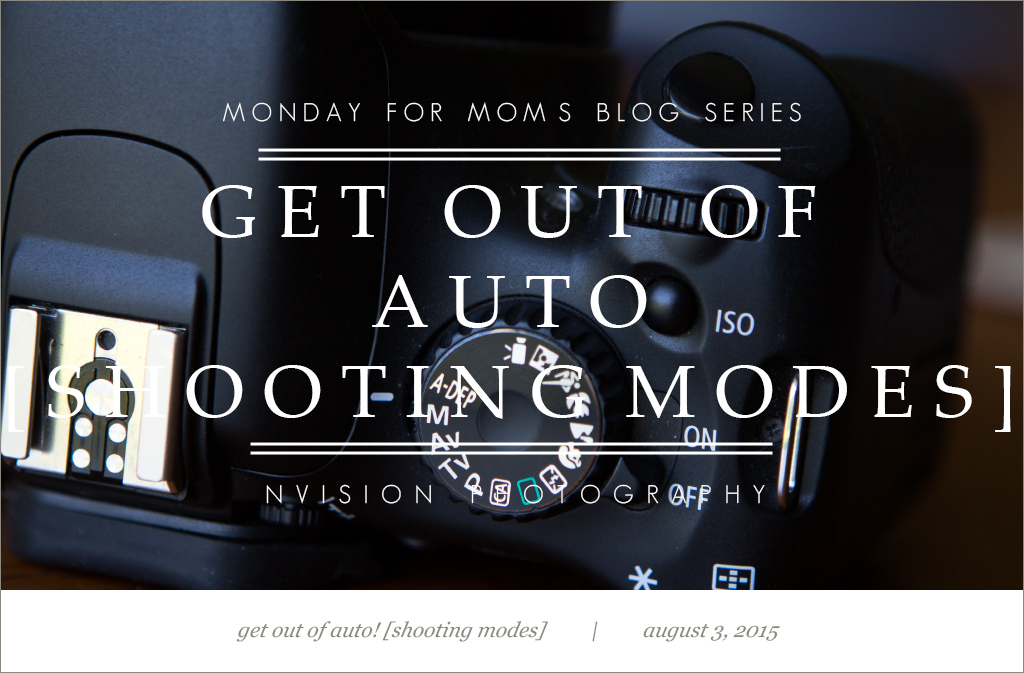
Get Out of Auto! [ Shooting Modes ]
[part of the Monday for Moms blog series – small tips and tricks that will make big changes in photos of your children]
So, I just realized that I may have gotten a little ahead of myself with the Focal Points post from last week. It has been so long since I’ve looked at the “Auto” mode of my camera and I didn’t even consider that if you are still using Auto shooting mode, choosing focal points probably isn’t even an option! Today I’ll give you a quick overview of camera functions and different shooting modes. I’m not getting into the nitty gritty details here, but will in later posts. This is just a quick “crash course” to get you started!
Camera Functions
A few functions work together to create images.
1. Aperture – Think of aperture as the iris of your eye. When it is dark, your iris dilates (widens) to allow more light to enter the eye. Conversely, when it is bright, your iris constricts (narrows) to limit the light. Aperture does the exact same thing. Available apertures vary depending on the specs of the lens you’re using. Look for the number listed on the side of your lens. It may be something like 2.8 or 3.5-5.6. These numbers indicate the WIDEST aperture your lens can obtain. Wider aperture=smaller number=MORE LIGHT to the camera sensor. Smaller aperture=larger number=LESS LIGHT to the camera sensor. Aperture size is also called the f stop.
2. Shutter Speed – This is how long the shutter actually allows light to reach the camera sensor. Slow speeds=more light entering the camera sensor. BUT slow speeds also show things like motion blur and camera shake, which isn’t usually desirable. Slow speeds would be lower than 1/100 and would most likely require the use of a tripod. High speeds=less light entering the camera. A typical speed would be something like 1/160 (1 160th of a second) and is sometimes just represented by the bottom part of the fraction, 160. A good rule of thumb is to never allow your shutter speed to be slower than the zoom of your lens, so if you are using a 200mm lens, your speed should be AT LEAST 1/200. Shutter speeds can be much faster, too. Think outside in bright light. Letting light reach the camera sensor for too long will result in a white, washed out (blown out) image. Outside with bright light, shutter speeds like 1/1000 or faster may be necessary.
3. ISO – Your camera sensor’s sensitivity to light is controlled by this function. 100 is the lowest and is usually needed outdoors in bright light. Inside, higher sensitivity like 6400 might be needed. The caveat is the that higher the ISO, the noisier images become. Noise happens when the camera sensor cannot “see” all of the information in an scene, so the camera just “fills in” the gaps with information. It looks like little spots all over an image and can be very distracting.
Again, this was the quick summary. I’ll go into more detail another time!
Shooting Modes
1. Auto – Your camera chooses everything for you.
2. P – Program Mode – Your camera chooses shutter speed and aperture settings.
3. Tv (Canon) or S (Nikon) – Shutter Priority Mode – You choose shutter speed and the camera automatically adjusts the aperture.
4. Av (Canon) or A (Nikon) – Aperture Priority Mode – You choose aperture and the camera automatically adjusts the shutter speed.
5. M – Manual Mode – You control everything!
To use many of the tips and tricks I’ll share, you’ll need to use either Program, Shutter Priority, Aperture Priority, or Manual Mode. These are considered the “creative modes” and will allow you to control different aspects of your images to give the result you desire.
– Nikki
11

I only shoot manual, but recently had the a well-respected shooter fill in as a second photographer for me. She mentioned shooting in Aperture priority during parts of the wedding like the cocktail hour, which kind of made sense to me. You are constantly turning your body and exposing your camera to different light and light sources, just to capture snapshots. Some very well-respected celebrity photographers do this as well. An interesting concept!
This is definitely an interesting concept! I’ve never tried it myself, but I could see where it might be helpful during quick times!
This is great!
Thanks for reading, Brittney!
Awesome tips! I know a lot of fledgling photographers would appreciate this information. The very basics are always important.
Thank you, Emily!
This is wonderful! And so easy to understand for anyone. As a momma I understand the importance of photos and why not know HOW to capture them!
Thank you, Maria!
How informative! Thank you so much for sharing this!
great information!!! Moms everywhere will thank you for this!
Oh, thank you for sharing this! <3